
Outlook Web App | Outlook Calendar Online | Cheat Sheet
Schedule meetings and track responses
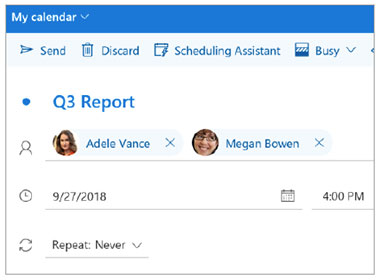
Step 1 - Schedule a meeting
Select New event, and then enter attendee names in the Invite attendees box.
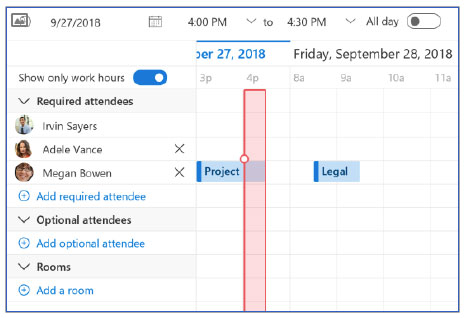
Step 2 - Get free/busy times for attendees
Select Scheduling Assistant to see free/busy times.
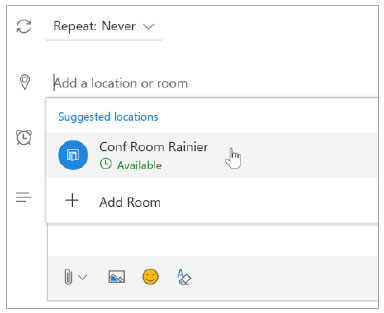
Step 3 - Add a room
In Scheduling Assistant, select the Add a location or room box, and select a room under Suggested locations, or select Add Room and then choose a room.
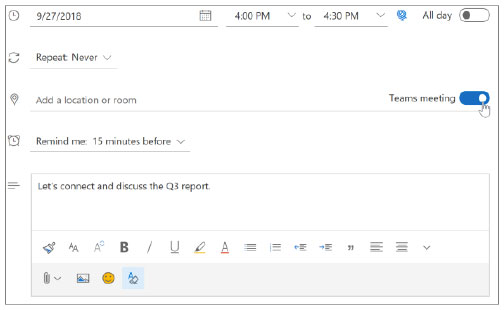
Step 4 - Make it a Teams Meeting
Select the Teams meeting toggle to make the meeting an online meeting. and then choose a room.
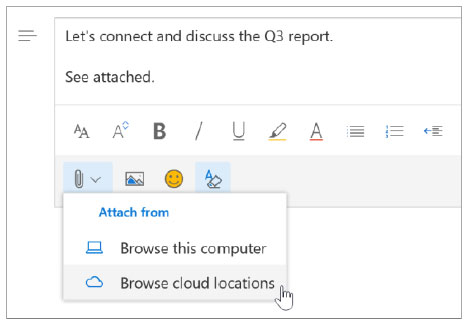
Step 5 - Attach a File
Select Attach and choose if you want to upload a file from your computer or a cloud storage account like OneDrive.
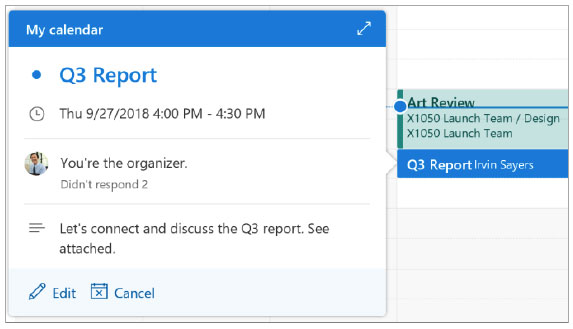
Step 6 - Track invite responses
On your calendar, select the meeting to view the responses.
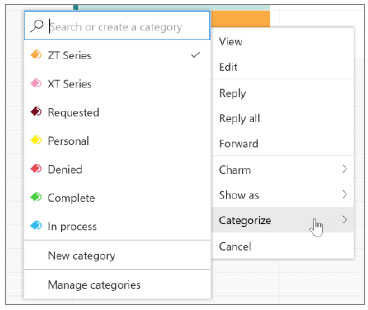
Apply categories to sort your events
Right-click an event, select Categorize, and then select the category.
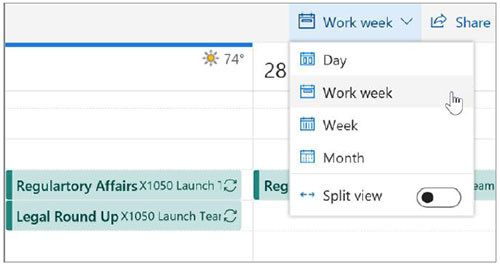
Switch calendar views
In Calendar, select the current view option like Work Week and choose another view option.
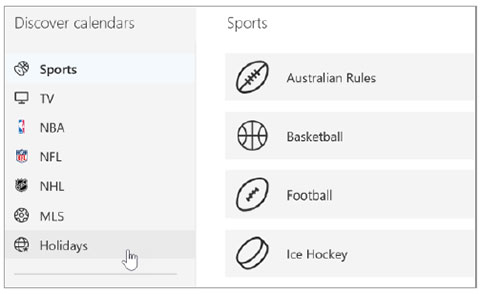
Add another calendar to your calendar view
To add another calendar to your calendar view, such as holidays, select Discover calendars in the navigation pane.
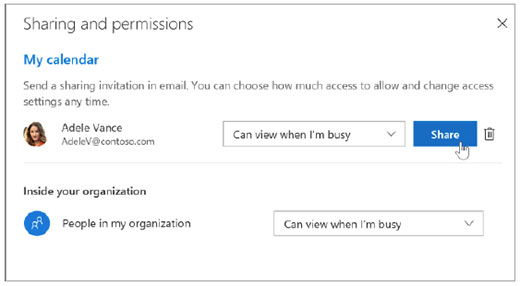
Share a calendar
To share your calendar with someone, select Share at the top of the page, enter the person's name or email address, and select Share.
Keyboard shortcuts
- Go to Calendar Ctrl + Shift + 2
- Go to Mail Ctrl + Shift + 1
- Switch to day (1), work week (2), week (3), or month (4) Shift + Alt + [1,2,3,4]