
Virtual Private Network (VPN)-MAC
Cisco AnyConnect (Mac VPN) is required to access UCI resource on a local computer connection.
Remote Desktop Connection currently does not require Cisco AnyConnect VPN to connect to a computer on the UCI HS network.
This page explains how to install and setup Cisco AnyConnect.
Mac VPN Configuration
Mac VPN Configuration
1. Open your web browser and navigate to https://vpn.hs.uci.edu
2. Click on “AnyConnect” on the left
3. Click on “Start AnyConnect”
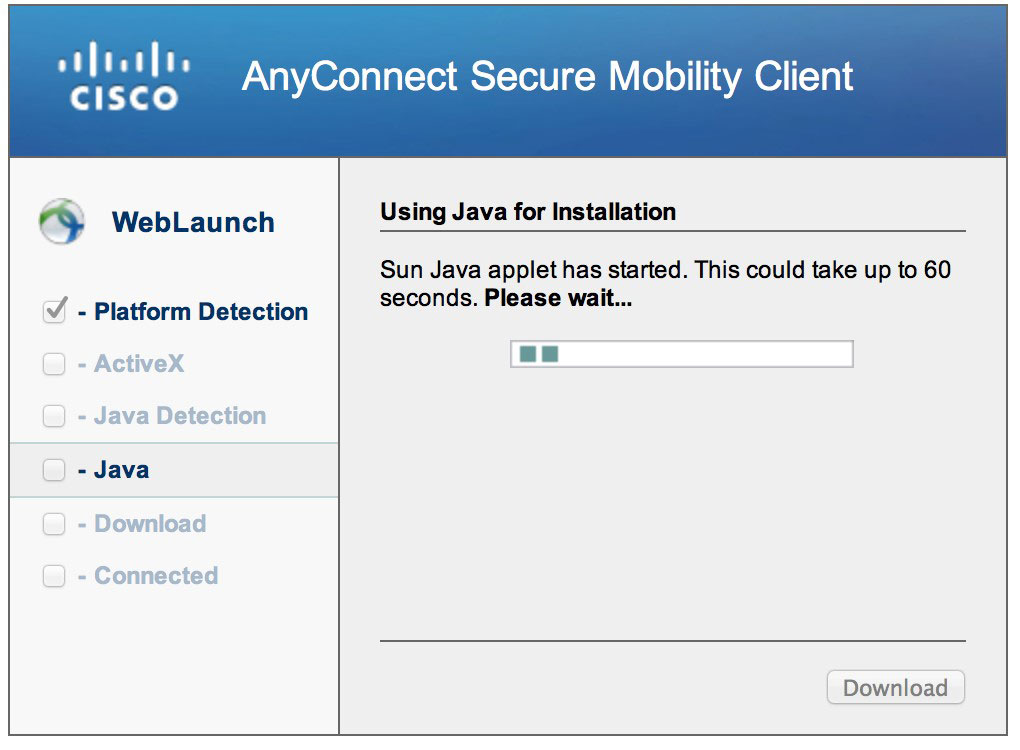
4. You’ll get see the following Java pop up, please wait.
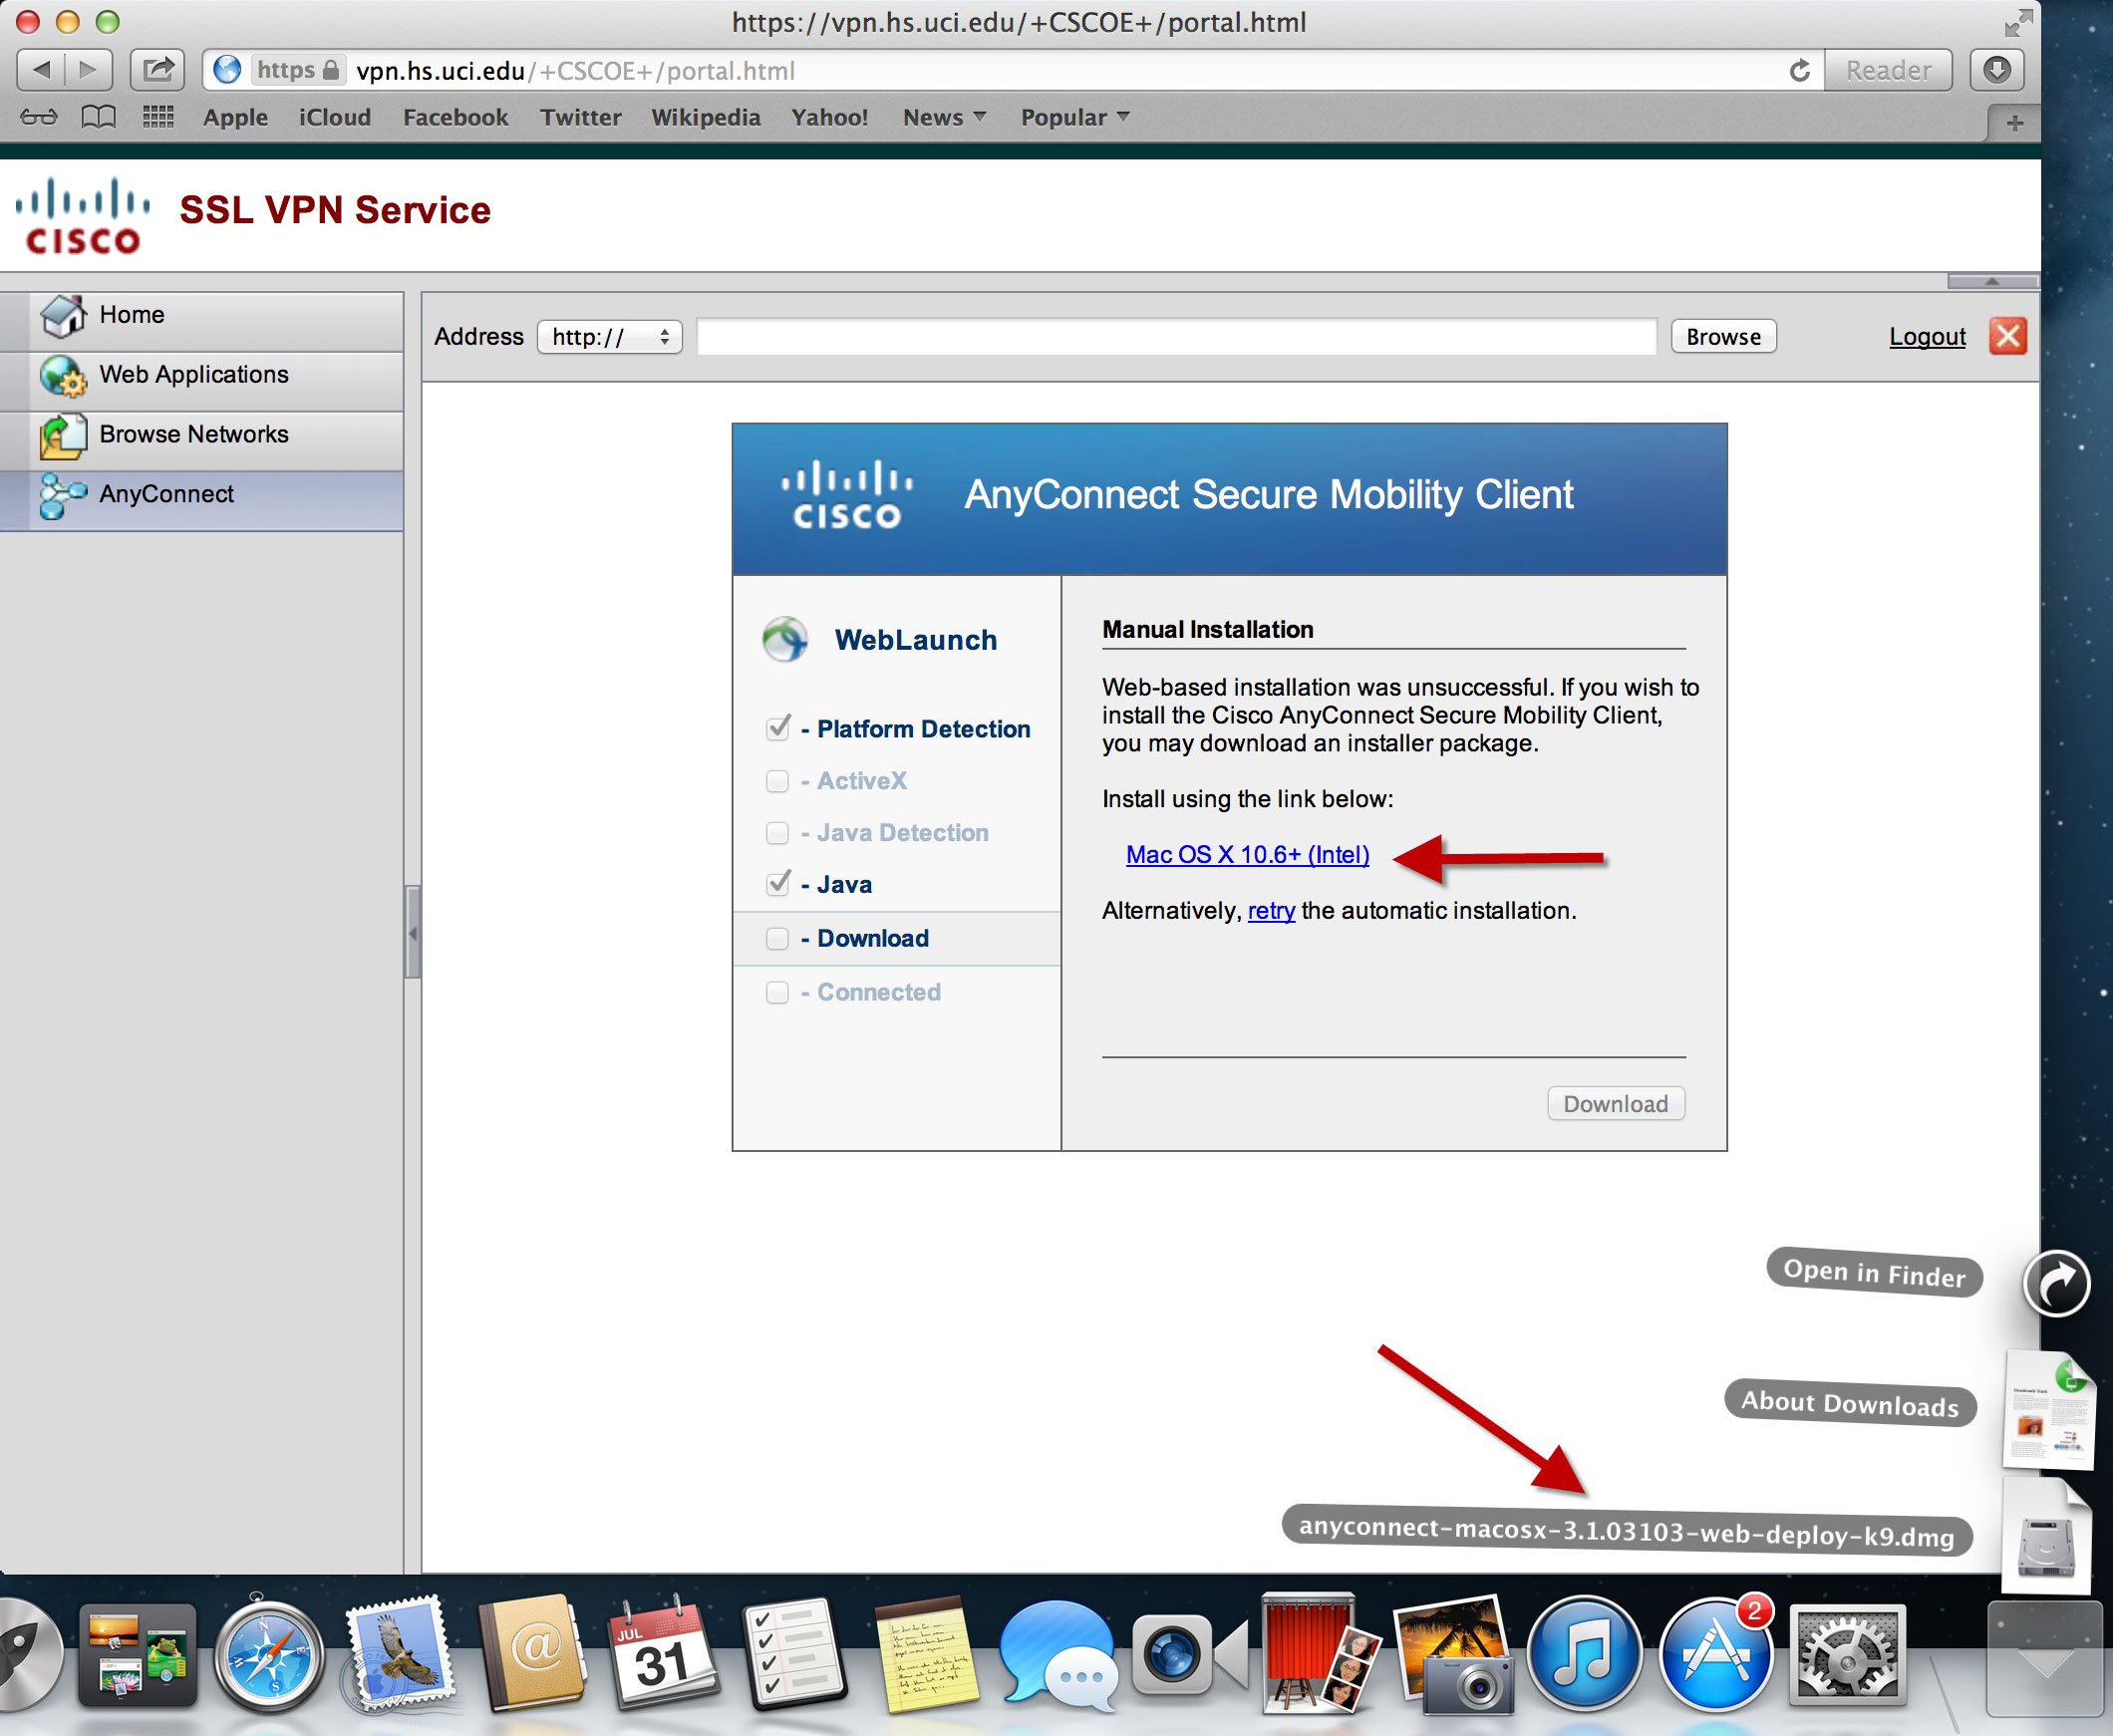
5. Click on Mac OS X 10.6+ (Intel) to download the VPN client for the Mac
6. Open the Downloads folder and click on anyconnect-macosx-3.1.03101-web-deploy-k9.dmg
7. Double click on the vpn.pkg

8. Once Install AnyConnect opens, click on Continue

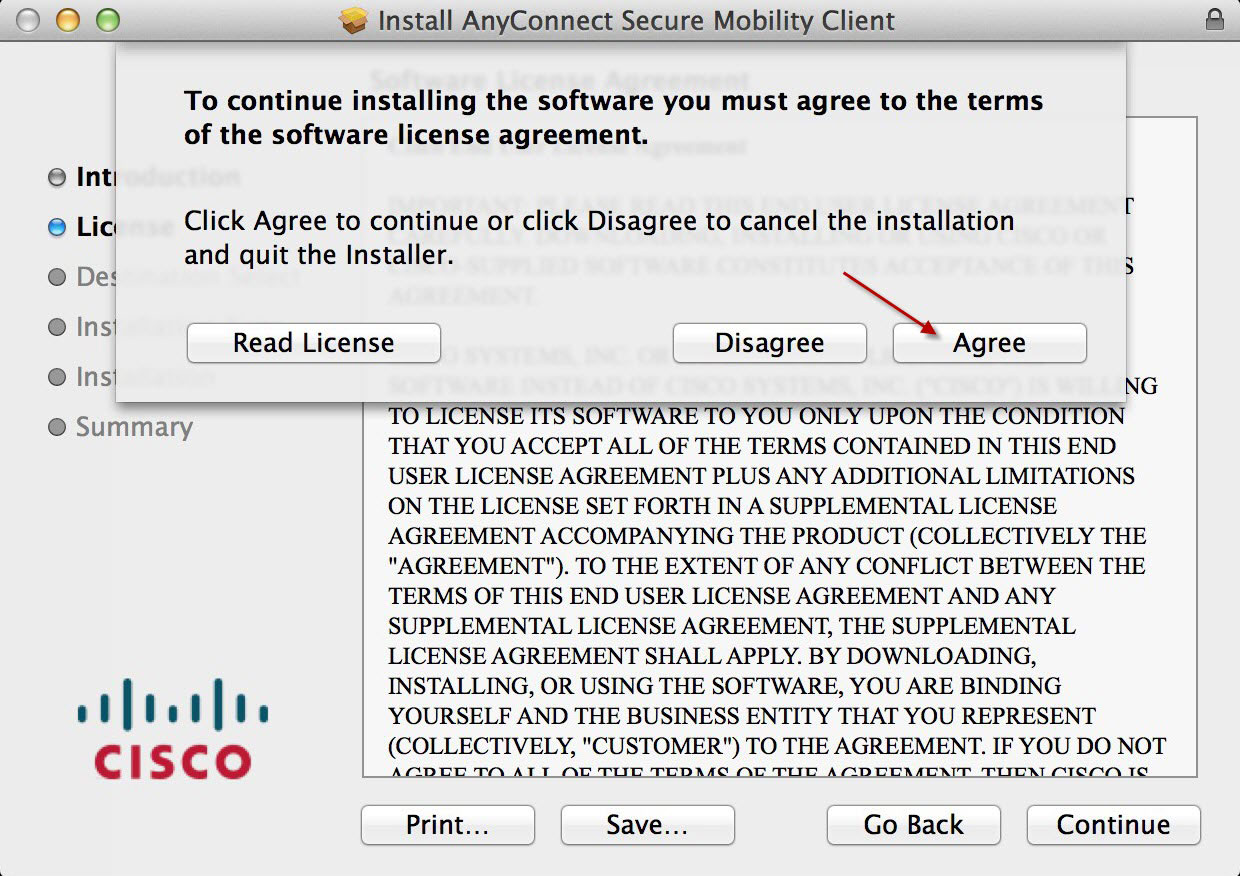
9. Accept to the license agreement
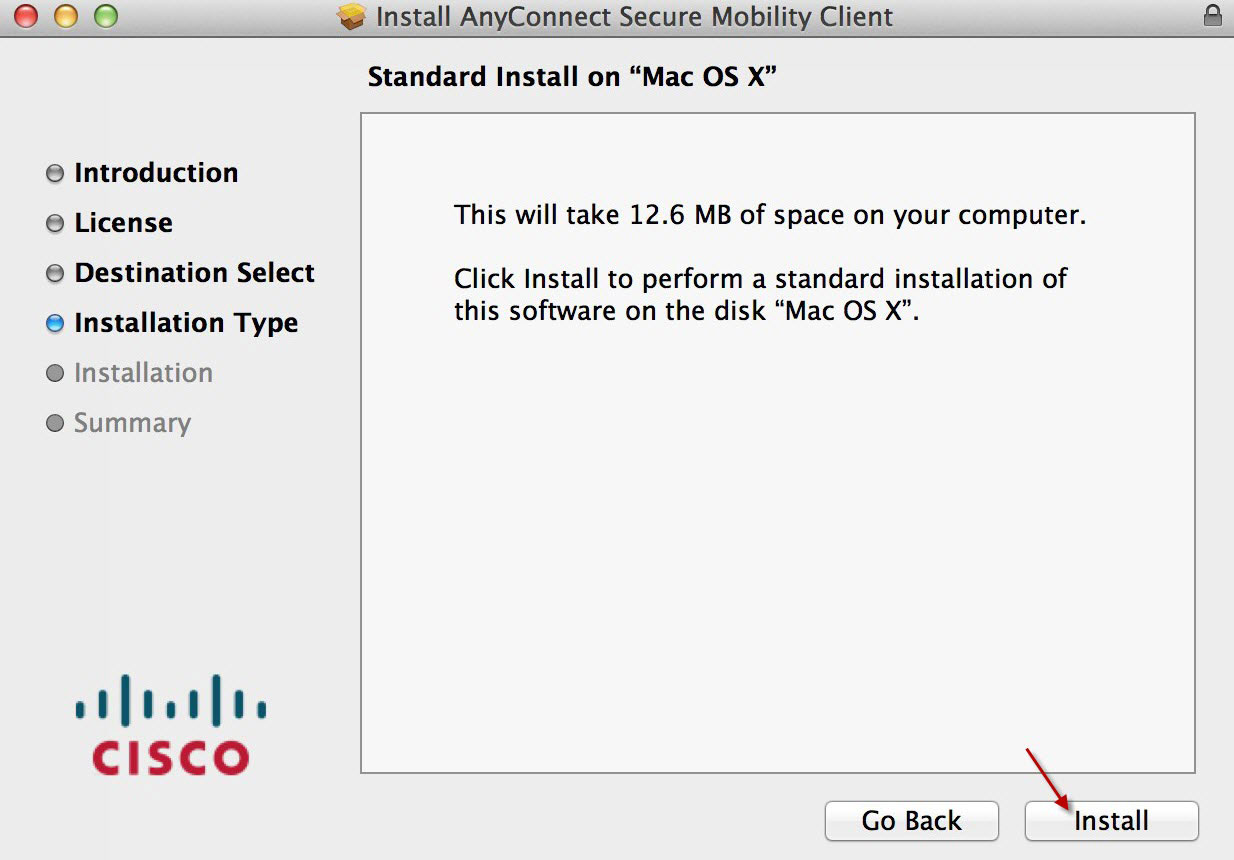
10. Click on Install
11. After the installation is complete, you may open up AnyConnect under Finder->Applications
Or you may use the spotlight and search for AnyConnect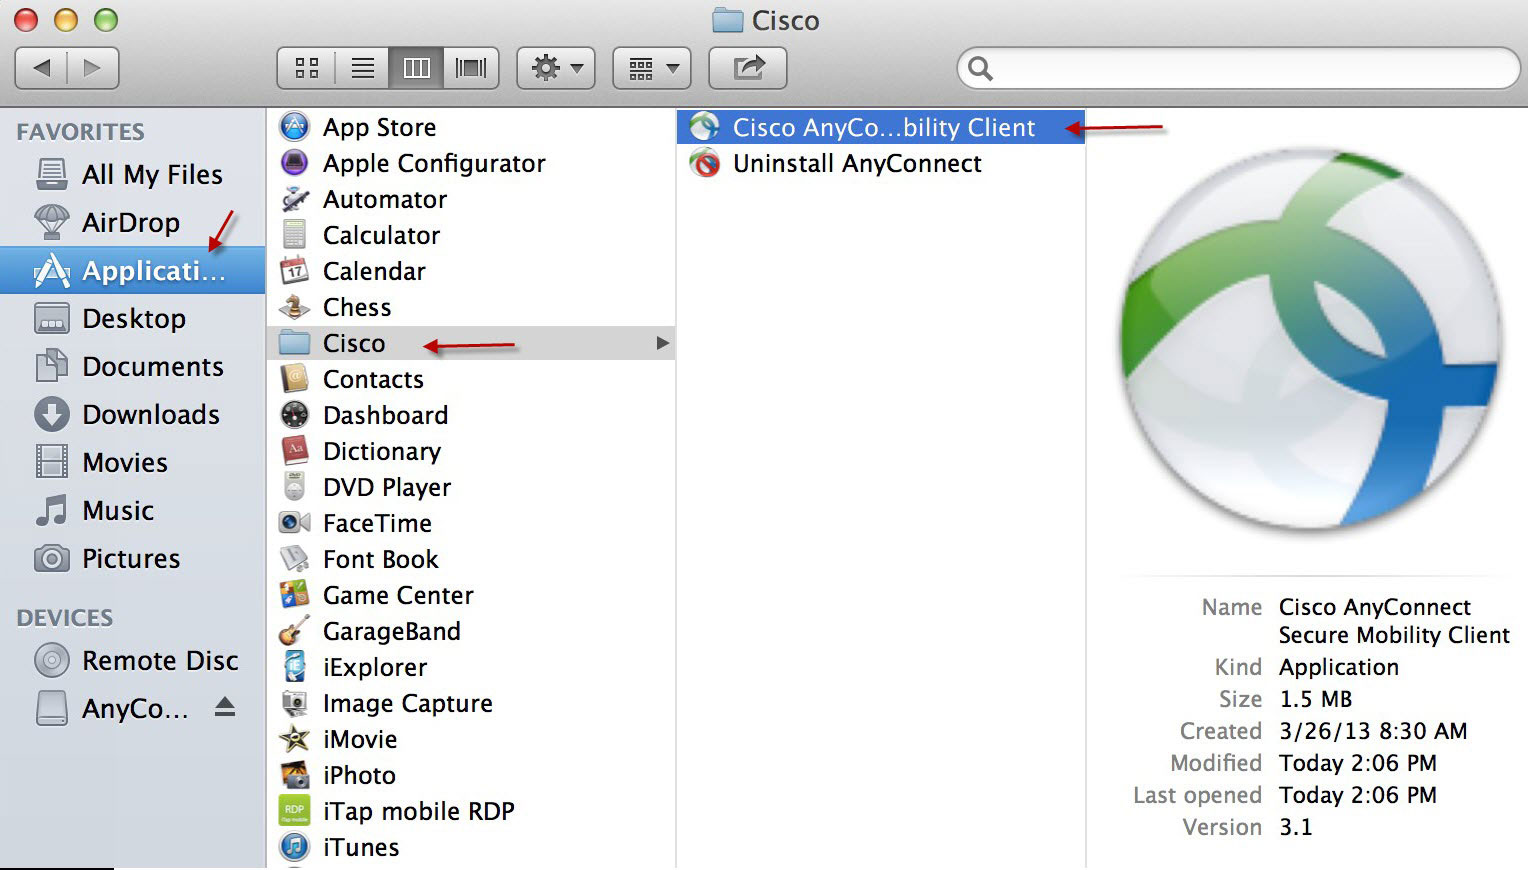
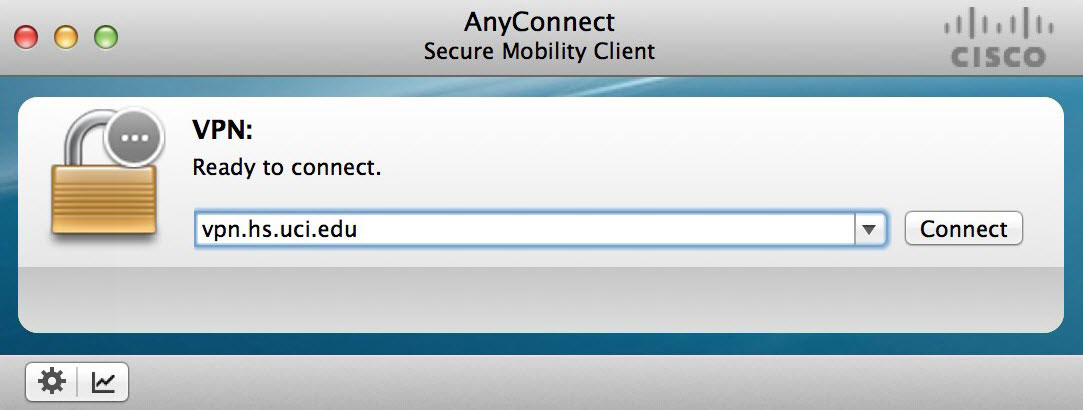
12. Enter vpn.hs.uci.edu in AnyConnect and click on Connect
13. Select “Managed” and type in your username and password
14. You’re connected to UCI VPN if you see “Connected” on the AnyConnect window
Changing Security settings for Mac 10.8 (Mountain Lion) or newer
Changing Security settings for Mac 10.8 (Mountain Lion) or newer
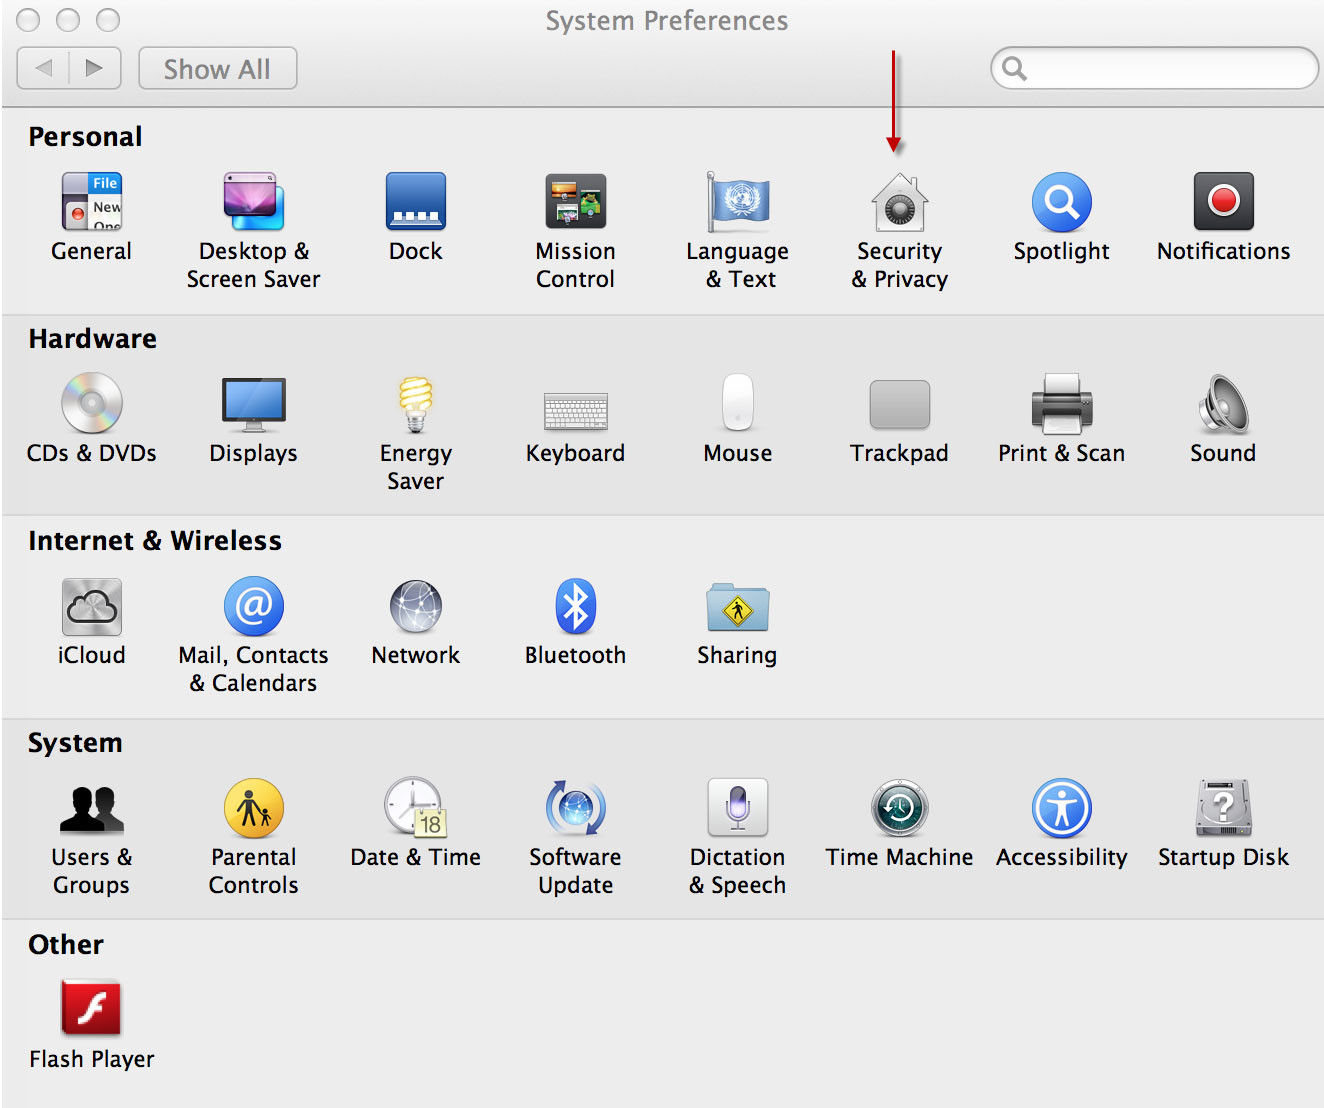
1. Open System Preferences from the Apple menu

2. Click on Security & Privacy
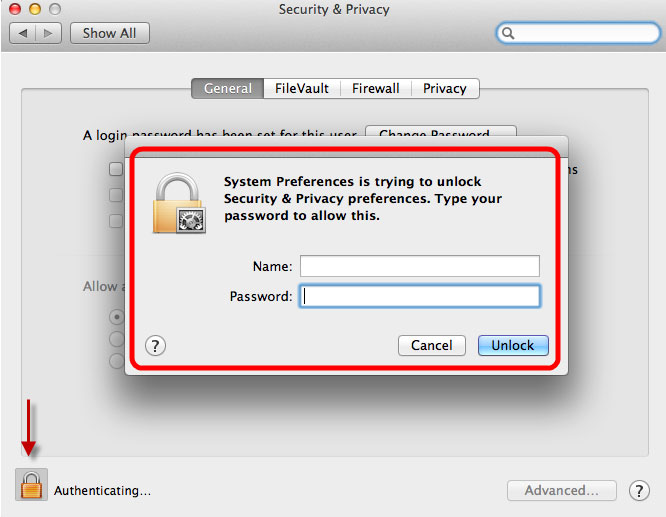
3. Click on the Padlock to unlock this page
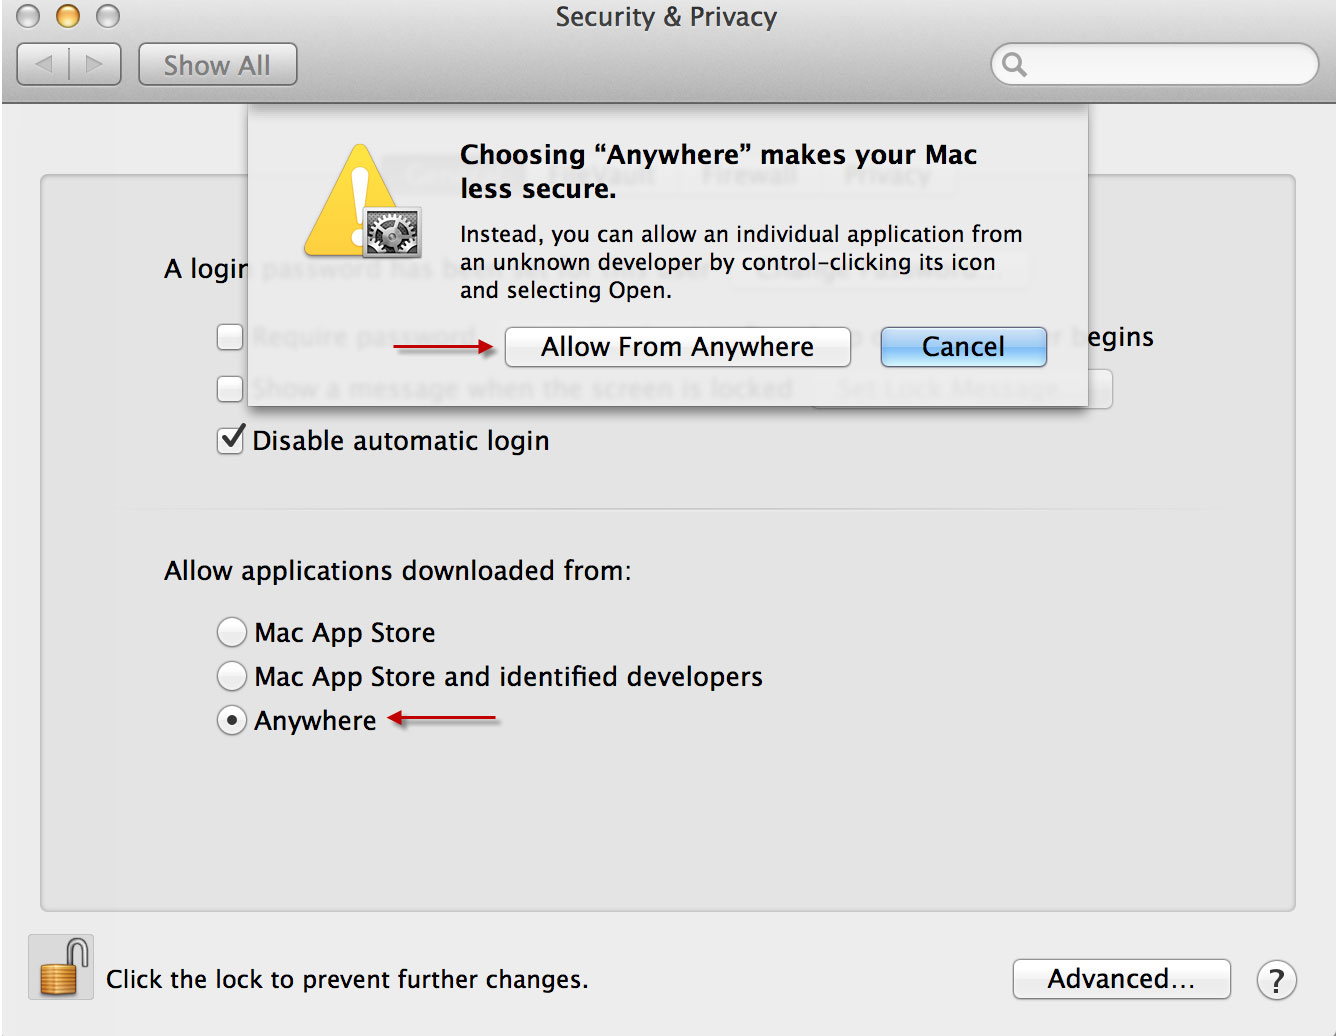
4. Select Anywhere and Click Allow From Anywhere
5. Close System Preferences and proceed to install Remote Desktop